Daisy chaining sensors is a simple, reliable, accurate, and cost-effective way to simultaneously monitor tank levels. It’s a great when you need to monitor the levels of several tanks from a remote point. At Automation Products Group, Inc. (APG), we’ve put together a few basic installation practices you can go through when daisy chaining the sensors.
Step 1: Get The Right Sensor and System
The first step is to make sure your sensors make sense for your application. This applies to your communication system as well. You can use the best installation practices, but if your sensors or communication system aren’t right for the job, none of it will matter. Make sure you’ve accounted for the following:
- Hazardous Locations
- Corrosive, Damp, or Dusty Environments
- Sensor Mounting
- Sensor and Communication Power
- Sensor Signal Type
Regardless of the technology you’re using to support your remote access, your sensor signals must be compatible, or you won’t be able to monitor anything. Several technologies include TCP/IP over Ethernet or internet, cellular, satellite, RF, or wired communications.
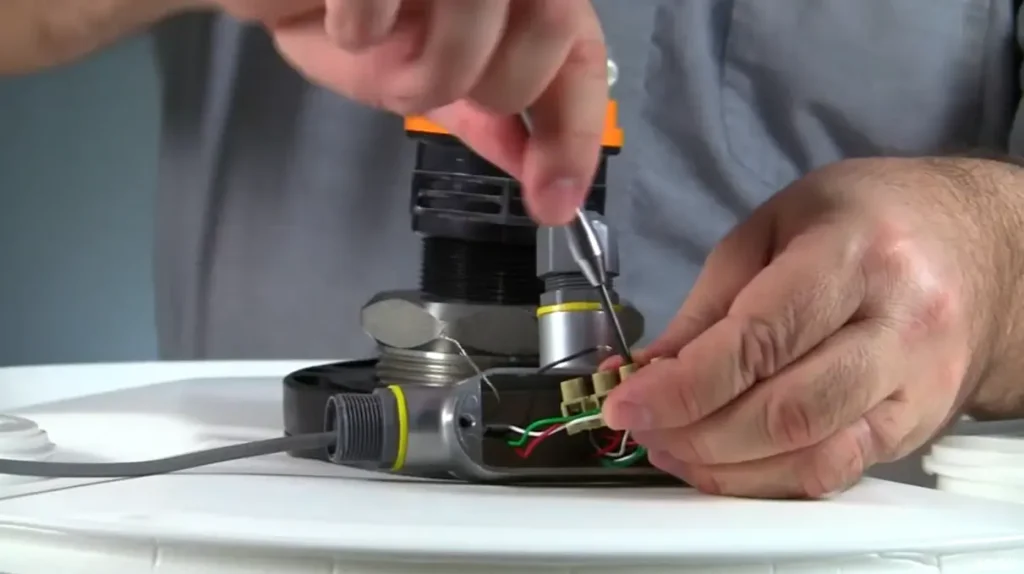
Step 2: Hook Up!
Daisy chain wiring has several advantages over individual home run wiring. It requires less cable, has shorter runs, and doesn’t require larger sizes of conduit. But that doesn’t mean daisy chain installation still requires good wiring practices. These tips are best practices:
- Always use properly shielded cables that are the appropriate gauge for your application.
- Never route low voltage (24/48 VDC) or communication/control wiring adjacent to AC cable (120 VAC or above). A good rule of thumb is to keep them at least 6 inches apart if they must be run parallel to each other, and use RGS conduit for the LV/signal cables. NEC Article 725 is a good reference.
- Never coil excess cable or lay it on top of AC power conduit. Any signal vs power crossings should be perpendicular to minimize electromagnetic interference (EMI).
- Make sure electrical grounds are terminated properly to prevent ground loops or potential ground shorts that can adversely affect instrument functionality.
- If possible, install your instrumentation away from other machinery or voltage sources that produce large currents.
Step 3: Lightning Protections
There are a few details to check when protecting your installation form lightning. If your tanks, sensors, and wiring are all installed inside an appropriately protected building, then everything should be good. But if the installation is completely open to the elements, make sure the structure of each tank is adequately protected. Also, ask the manufacturer of your sensor is it has built-in lightning protection.
Step 4: Power Up!
Once everything is correctly installed, it’s time to power up your system. Be sure to follow any instructions about sequential instrument addition to your communication system. For example, Modbus-RTU systems require that each device be added to the system one at a time to prevent device address confusion. Being aware of little details like this before you start will greatly increase the likelihood of a successful installation.
For a visual representation of setting up a daisy chain network, watch our video on How to Wire a Daisy Chain for Tank Cloud Sensors.
Have questions about an upcoming installation? Having difficulties troubleshooting an existing installation? Give our helpful Measurement Experts a call, or contact us today! Whether your signals are crossed or your sensors are incensed, we can help you get hooked up and powered up right.
WRITTEN BY

Sami T.
Sami Thompson is APG’s Marketing Technical Writer and has been with the company since 2022. With a master’s degree in English from Utah State University and a 40-page thesis publication under her belt, Sami has a demonstrated strong writing background. In her free time, Sami enjoys reading and birdwatching.